This post may include affiliate links. Please read my disclaimer page for more info.
So, you’ve decided to take the plunge and start learning to sew—excellent choice, by the way. You’re excited and maybe tempted to rush to the craft store or fill your online cart with every sewing tool under the sun.
Trust me I’ve been there. Most of it I didn’t even use right away. So before you go on a spending spree, here’s a list of the actual beginner must-haves so you can start smart without overspending.
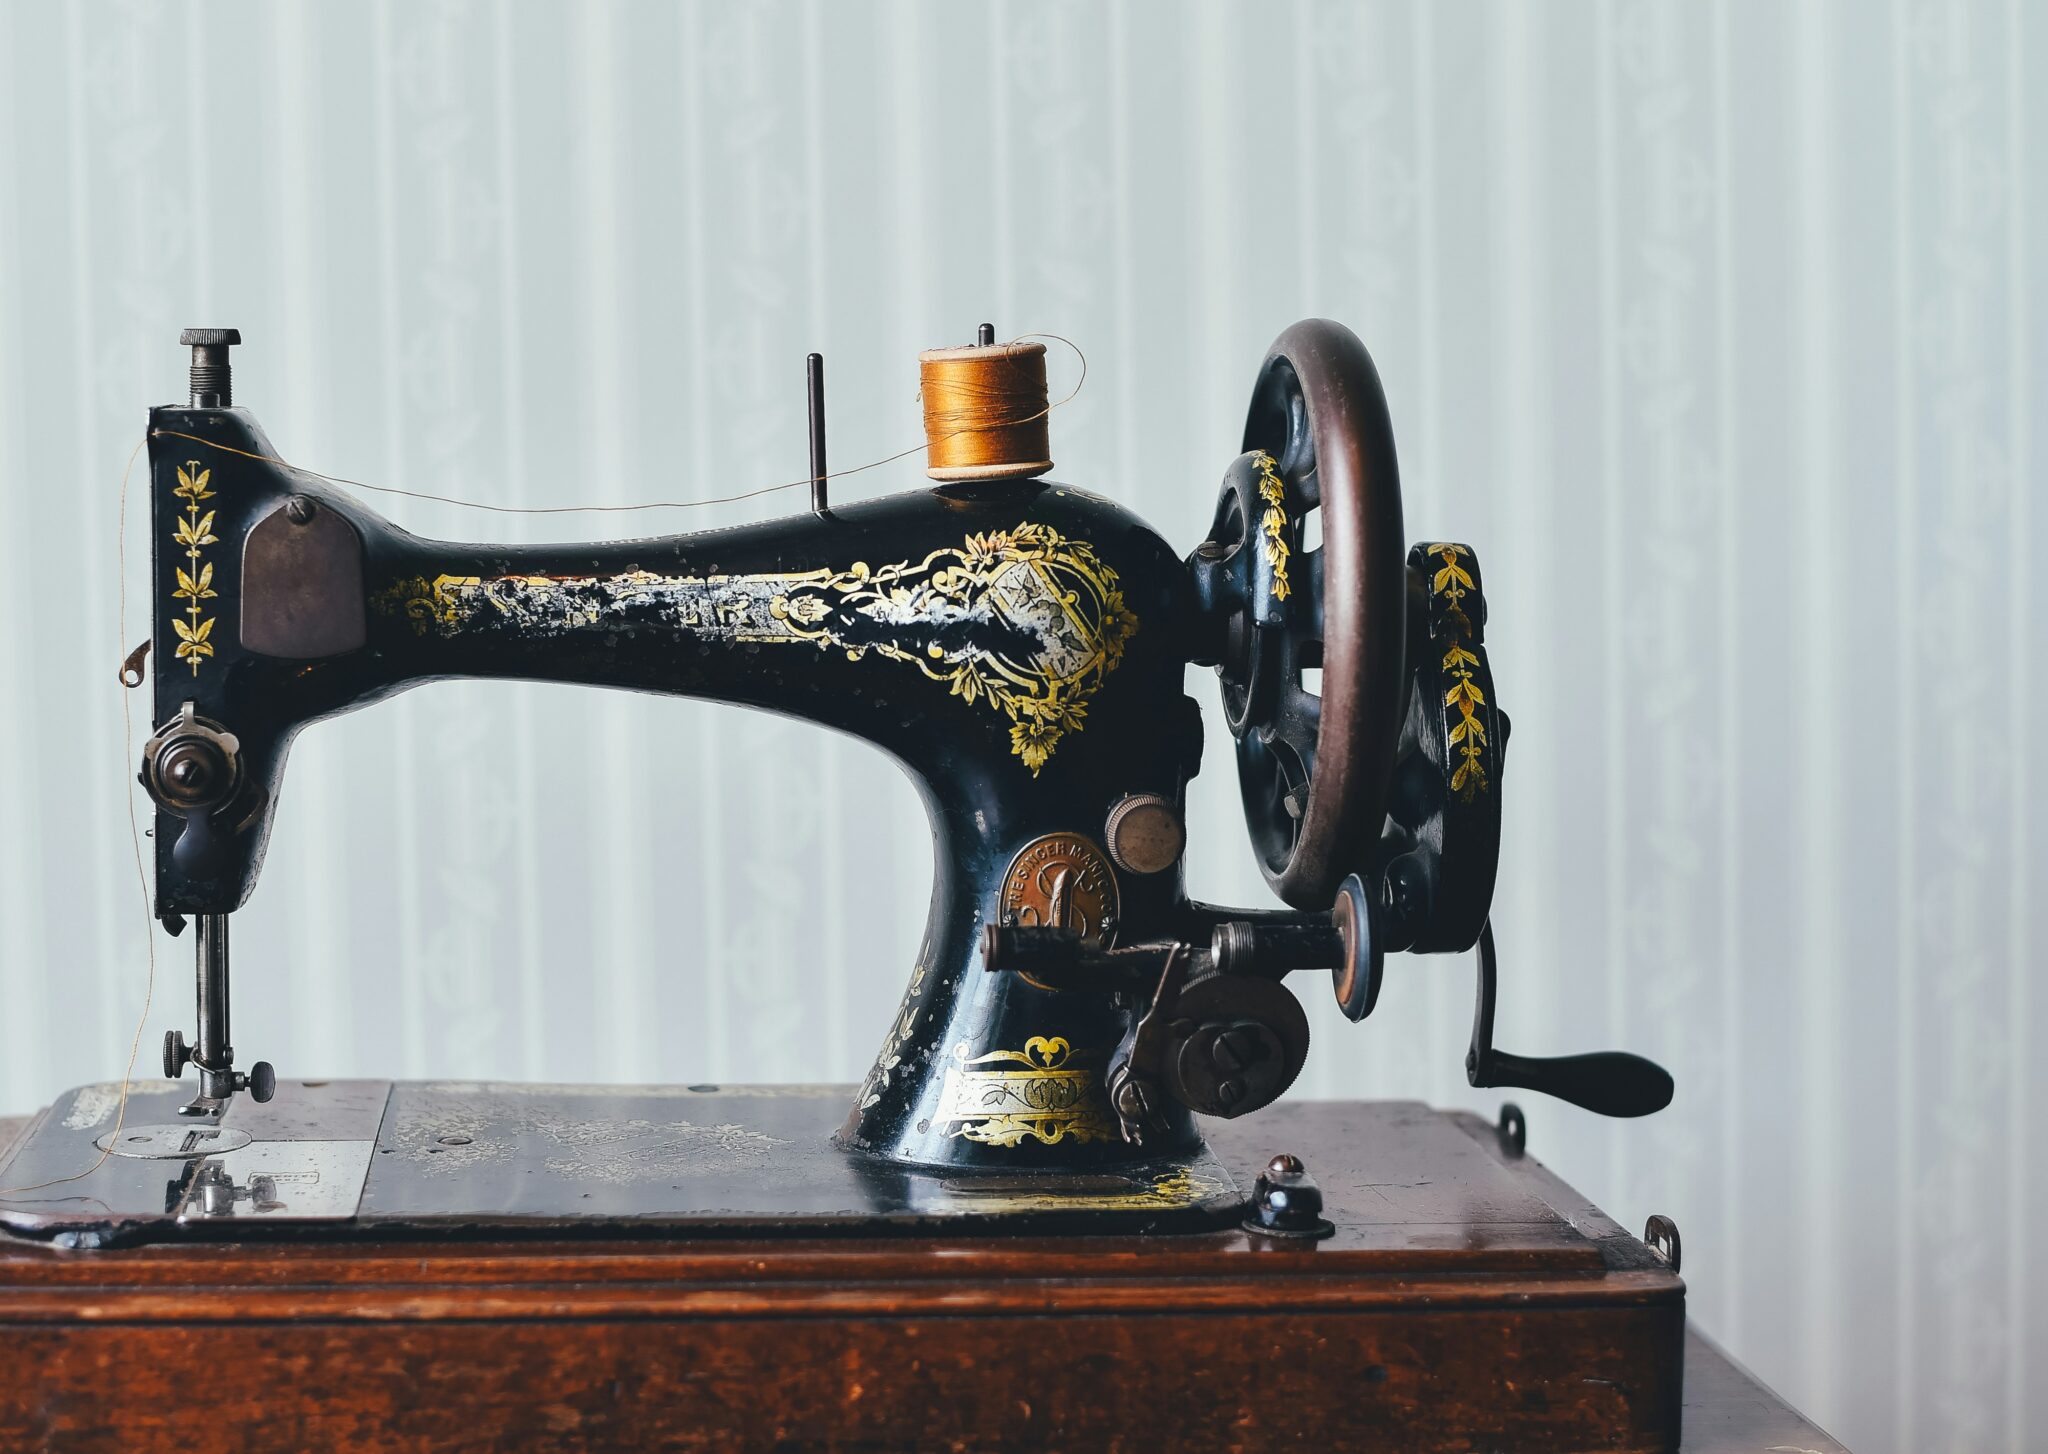
1. Sewing Machine
Do you need a sewing machine right away? Not necessarily. I didn’t even get mine until about three months after I started sewing.
So what was I doing before that? Hand sewing!
Wait—people still do that?
Yes. And that’s my recommendation for you as well. Think of it like building a house—you wouldn’t jump straight to the roof without laying the foundation first, right? It’s the same with sewing. Hand sewing helps you understand the basics, develop control, and build the patience that sewing requires.
That said, if you’re eager to jump in with a machine, go for it, just don’t go overboard. A basic model is more than enough when you’re starting out (especially if you’re not 100% sure you’ll stick with it).
Look for something with simple stitch options, a clear manual, and good beginner reviews. You’ll learn faster with less frustration, and your wallet will thank you.
What to Look for in a Beginner Machine:
- Straight stitch and zigzag stitch (that’s all you need to start)
- Easy threading system
- 1 Step Auto Button Hole
- Manual speed control
- Budget-friendly and durable (brands like Brother, Singer, and Janome are great for beginners)
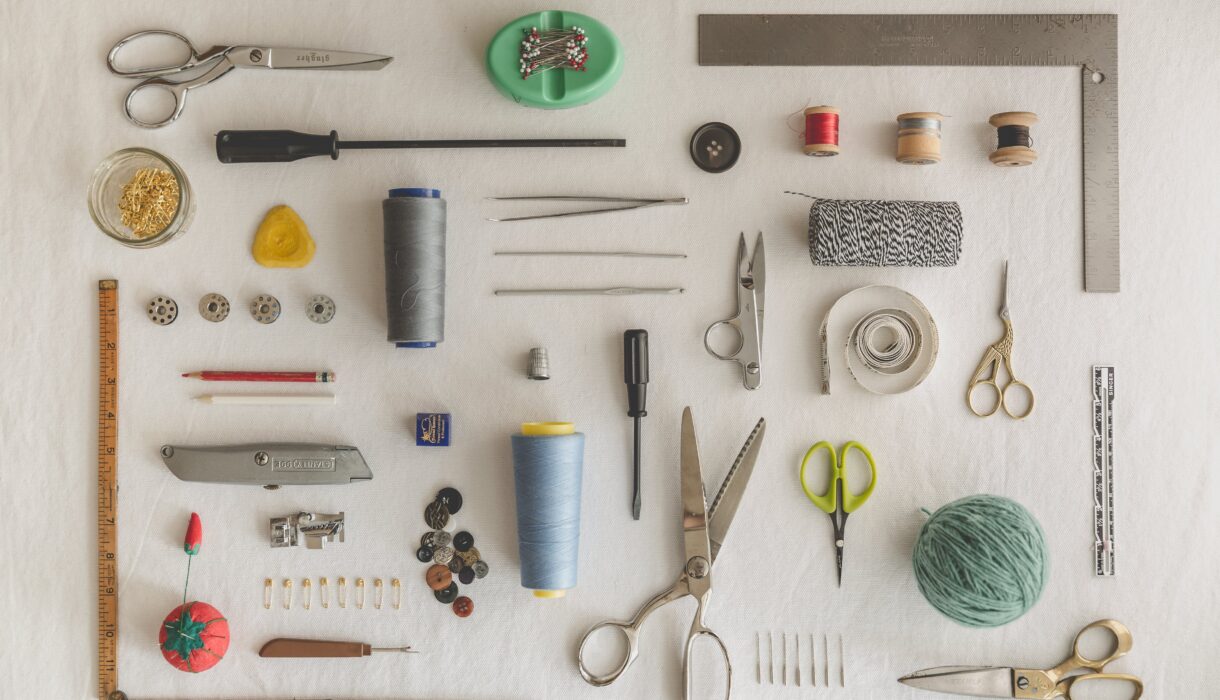
2. Needles
Whether you’re sewing by hand or with a machine, needles are a must. I actually had no idea there was a difference between hand sewing needles and sewing machine needles. Thankfully your machine will come with needles to help you get started which is nice. How often should you change those needles? Its recommended to change your sewing machine needle after every 8 hours of sewing or every 2–3 projects, though to definitely keep mind a bit longer.
Types of Sewing Needles:
- Hand Sewing Needles: Choose sharp, medium-length needles (called “sharps”) for everyday use. Use longer needles (“milliners”) for basting or gathering.
- Machine Needles: Start with universal needles, size 80/12 or 90/14 for cotton or medium-weight fabrics.
Pro Tip: Change your needle often. Dull needles cause skipped stitches and fabric snags.
3. Pins
Pins hold your fabric in place before you sew. They may be small, and hard to find when you drop them, but they’re essential.
Types of Pins:
- Glass Head Pins: These are heat resistant and great for ironing. They don’t melt on your fabric like the plastic ones.
- Ballpoint Pins: Best for knits—they slide between fibers instead of piercing.
- Extra Fine Pins: Perfect for delicate fabrics like silk and satin.
Storage Tip: Keep them in a pin cushion or magnetic holder to avoid mess (and stepping on them).
You can also consider getting clips as well. They don’t leave little holes in the fabric and are ideal for securing fabric layers. I recommend getting both.
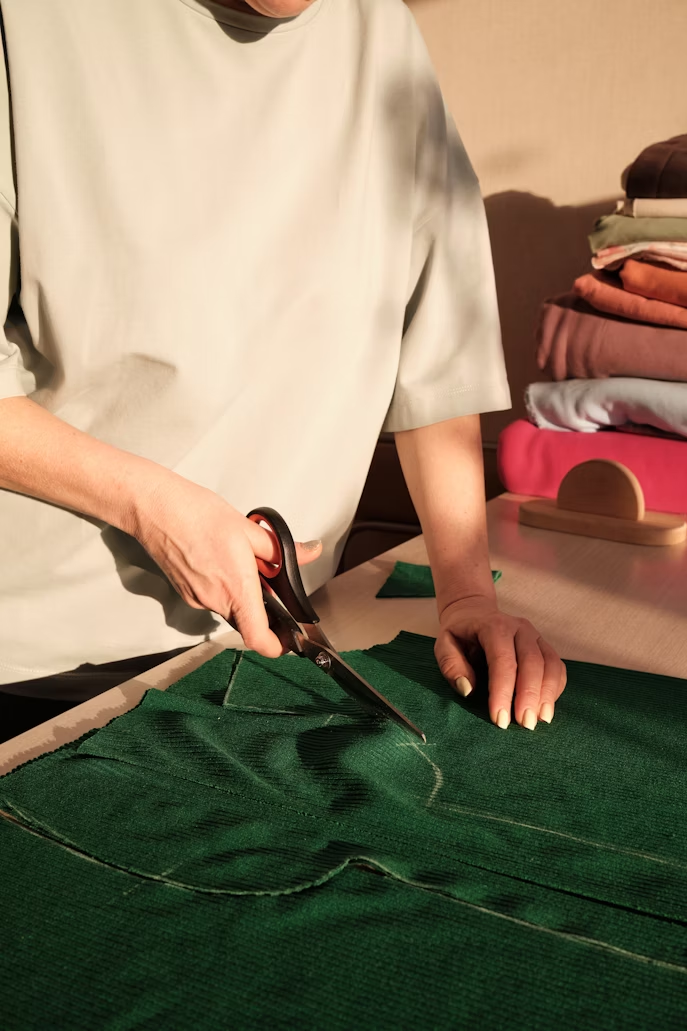
4. Scissors
Do yourself a favor and invest in a good pair. A sharp, high-quality pair of fabric scissors will make clean, precise cuts. It’s very important that you cutting your fabric properly as it will come back to haunt you while sewing.
Types to Consider:
- Fabric Scissors: Only use them on fabric—no paper or plastic! When I first started I used mine for cutting paper and wondered why it had gotten dull so quickly. Lesson learned.
- Paper Scissors: You’ll need them if you’re working with patterns.
- Embroidery Scissors: Small and sharp, ideal for snipping threads.
- Pinking Shears: Zigzag edges help reduce fabric fraying.
I started out with just fabric scissors and paper scissors. The last two are nice to have, but you can get them at a later time. I got this Black Titanium Fabric Scissors back in September, but it’s a bit heavy so if you want something lighter you can also checkout the Fiskars 8” Original.
Quick Tip: Label your fabric scissors clearly so no one else uses them for the wrong purpose.
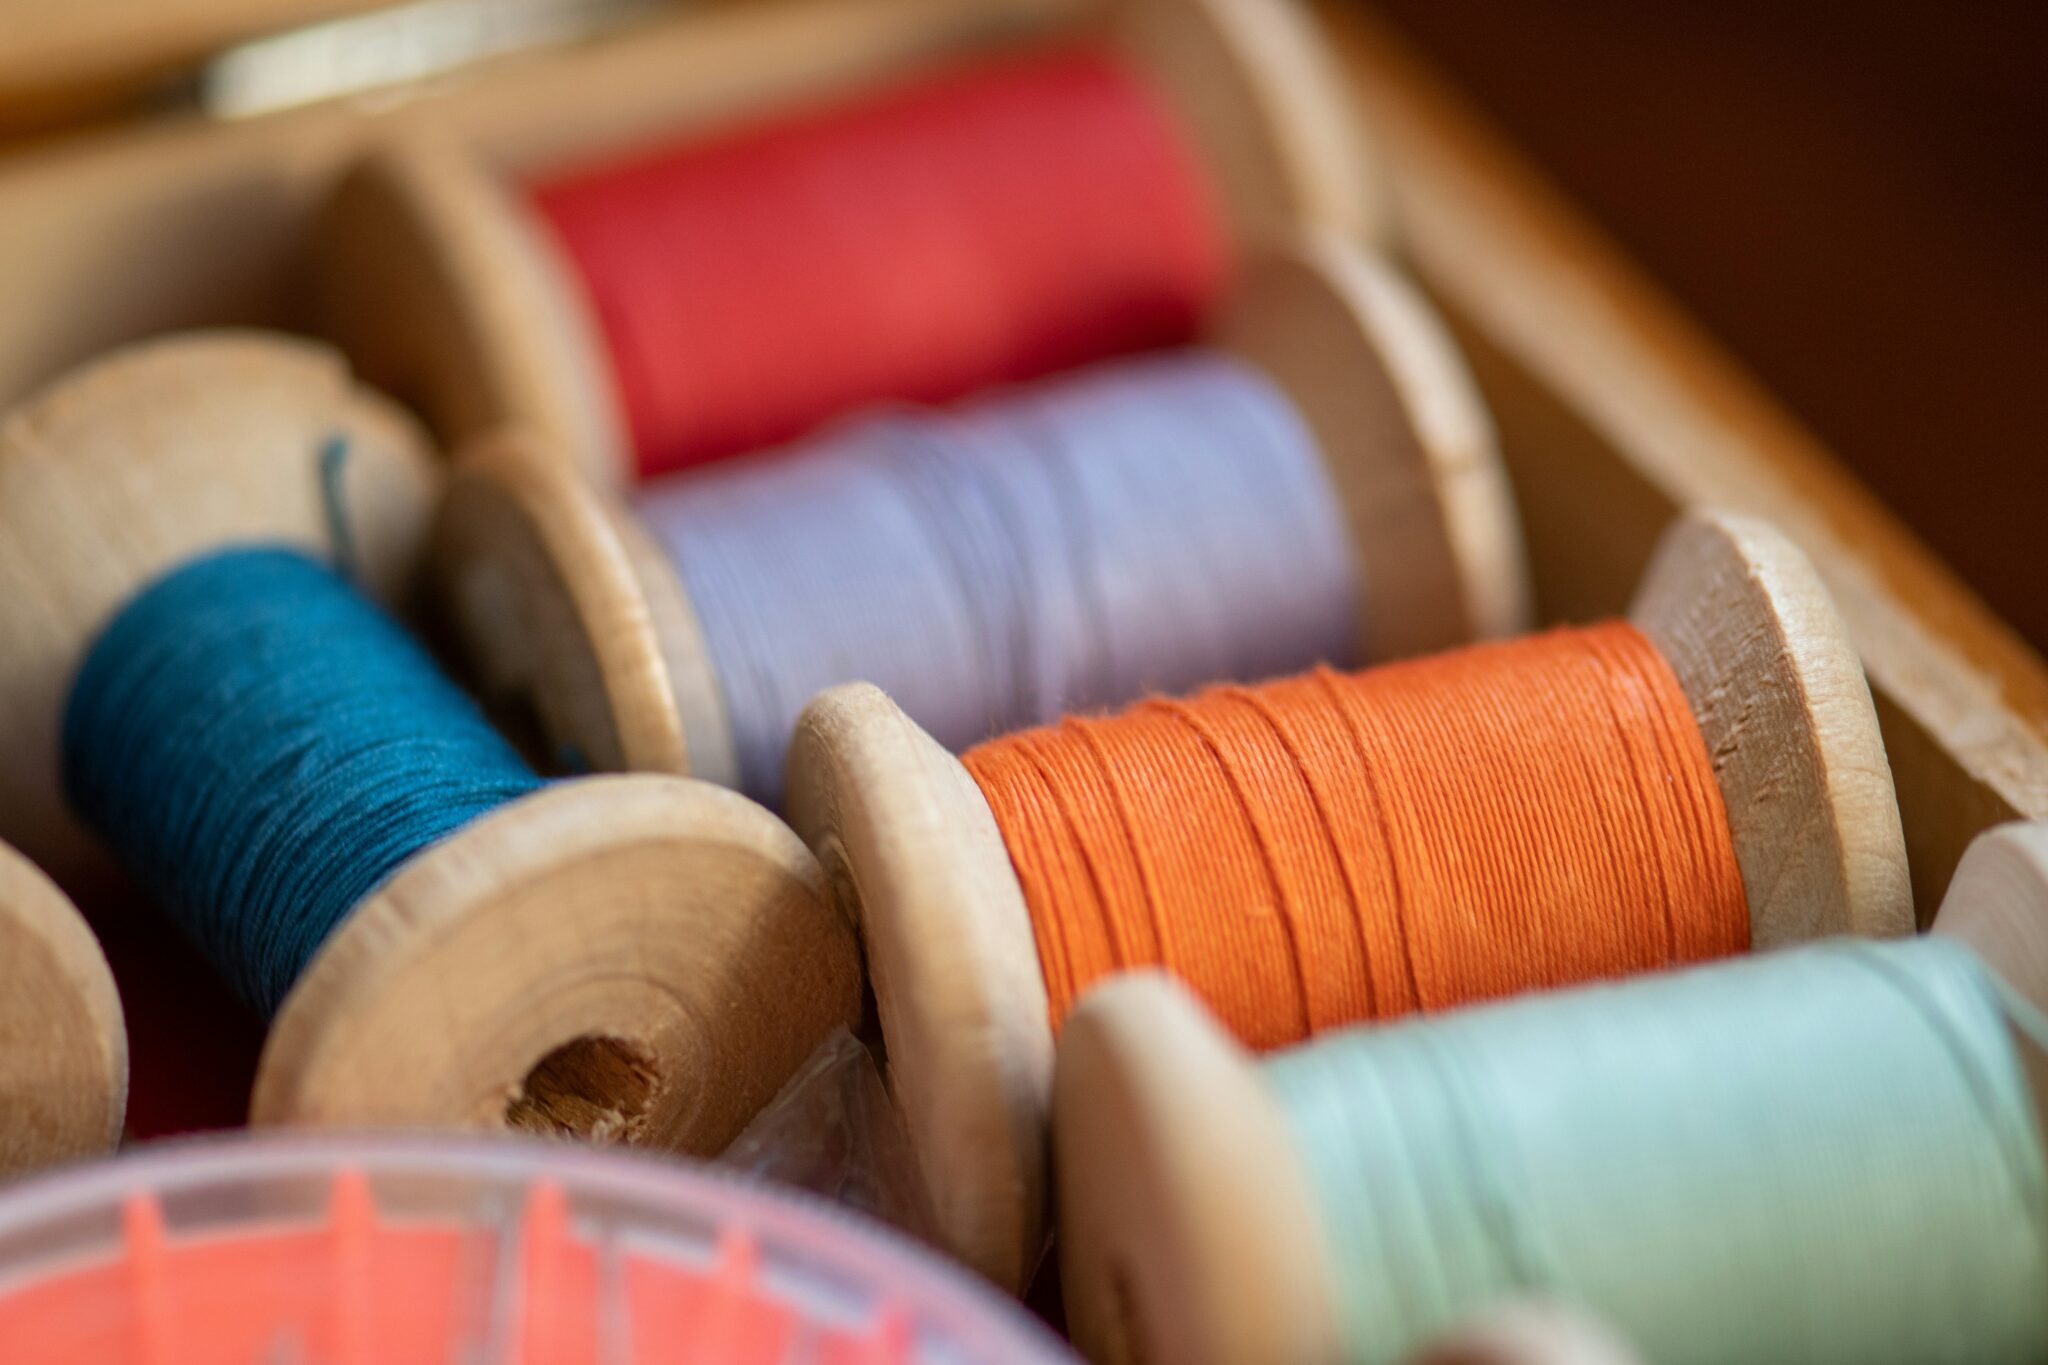
5. Threads
I had no idea there were so many kinds of thread until I really got into sewing. I used to just buy those cheap value packs from the store anytime I needed to fix a seam. When I started, I didn’t think twice about it. I just grabbed whatever was cheapest. But those threads would fray, break, or tangle mid-project, and I didn’t understand why.
Turns out, there are tons of thread types for different fabrics and projects: cotton, polyester, silk, and even denim-specific thread. My tip? If you’re new, start simple. All-purpose polyester thread is strong, reliable, and super versatile. Once you get more comfortable, you can experiment with specialty threads later on. Stick to brands like Gütermann or Coats & Clark for quality.
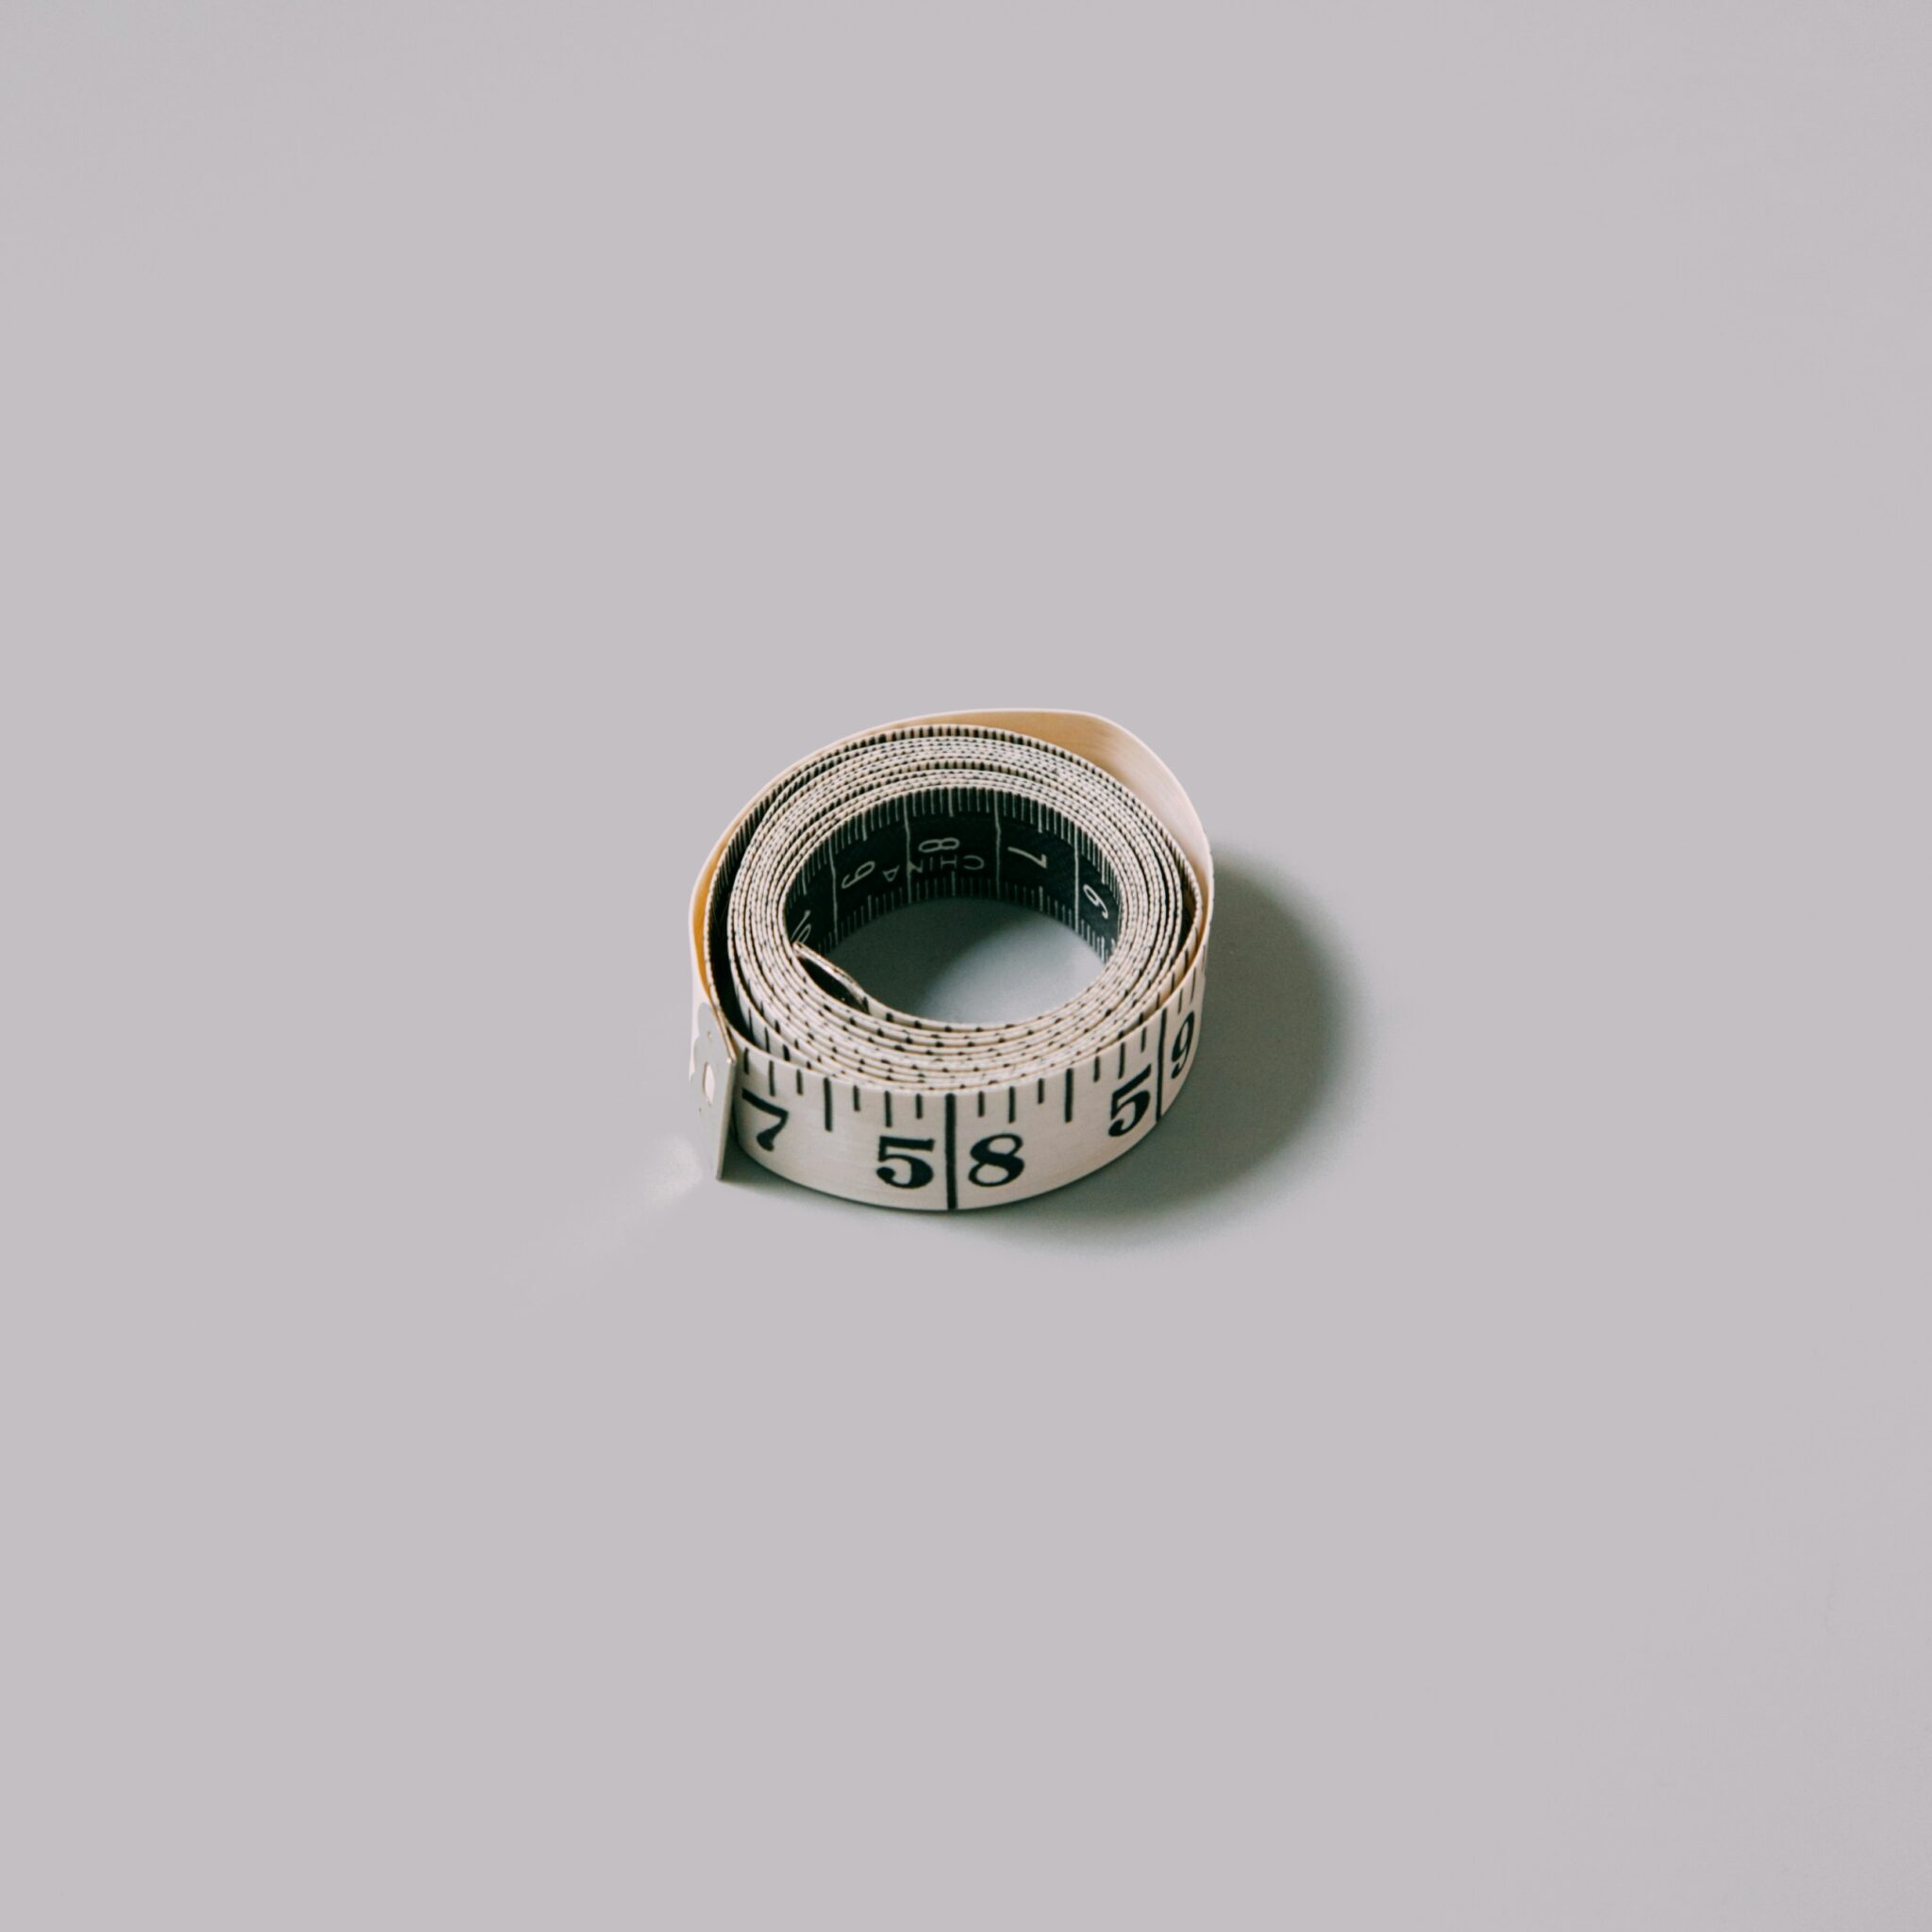
6. Tape Measure
You’ll need a soft measuring tape for taking body measurements or measuring fabric. I have multiple. It was one of the first tools I picked up, and I still use it all the time.
Why does it matter? Accurate measurements mean better-fitting garments, cleaner cuts, and fewer mistakes.
Choose a double-sided one with inches on one side and centimeters on the other.
7. Marking Tools
When I first started sewing, I used tailor’s chalk. It got the job done, but it broke a lot and didn’t always mark clearly. These days, I prefer heat-erasable or water-soluble pens, they glide on smoothly and vanish with a little heat or water. Super easy.
Marking tools are super important. They help you layout seams, darts, and pattern lines before you even think about cutting. And since you’ll probably make a few mistakes in the beginning (we all do), these tools help keep things under control without ruining your fabric.
My top picks for beginners:
- Tailor’s Chalk
- Fabric Marking Pens
- Hera Marker (amazing for quilting)
- Even a sliver of soap can work just fine.
Just make sure to always test them on scrap fabric first, some colors don’t come out as easily as they claim.
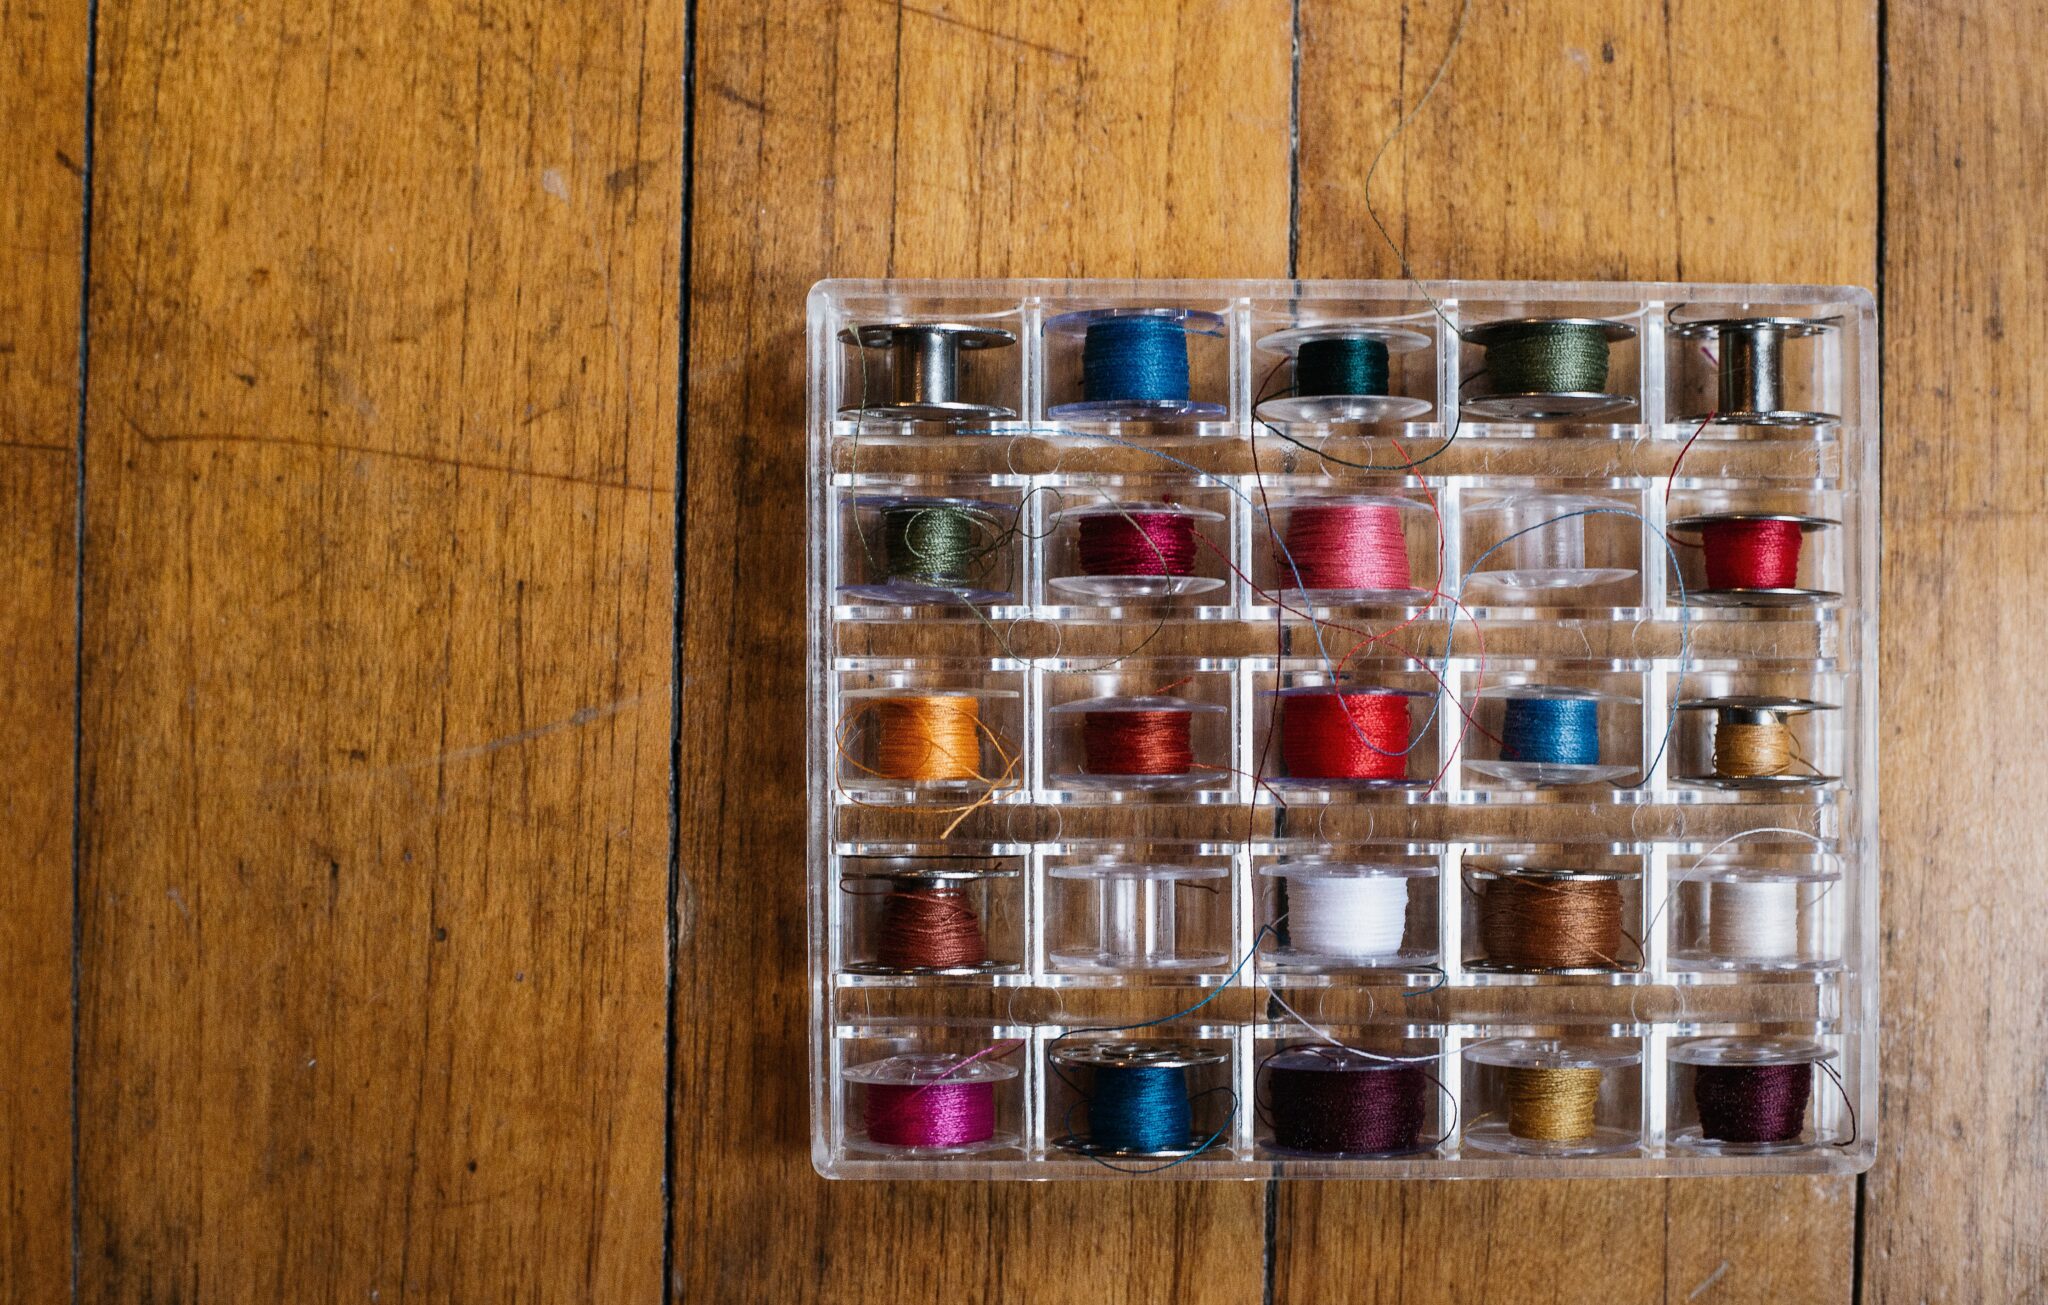
8. Bobbins
Honestly, when I first started sewing, I didn’t even know what a bobbin was. It only took me a few projects to realize I need more of them. A lot more.
Why? Because every time you switch thread colors, you’ll want a matching bobbin. Having multiples already wound and ready to go makes sewing a whole lot easier. My sewing machine only came with four.
My sewing machine only came with four or five bobbins, which wasn’t nearly enough so I ended up ordering a pack of 20 on amazon. Using the wrong type can lead to jams and uneven stitching. Check your manual, it’ll tell you exactly which size and style you need, along with any acceptable alternatives.
9. Rulers
If you’re picturing those clear plastic school rulers, that’s totally okay to start with. I still reach for mine sometimes. But if you plan to sew more regularly, I’d definitely recommend investing in sewing specific rulers. There are invisible rulers for marking delicate fabrics, curved rulers for armholes and necklines, button rulers for perfect spacing—the list goes on.
Rulers were actually the first sewing tools I bought. I got a whole set, mostly because I didn’t know what else to get at the time. But years later, I’m still using some of them. They’re definitely worth having in your sewing kit.
What to Look For:
- Both metric and imperial measurements
- Clear markings that are easy to read
- Non-slip grips if possible
I’m completely sold on Omni Grip rulers. They come in multiple sizes and I use the 6×24 and 4×36 folding one all the time. I had a thinner ruler that’s been collecting dust ever since I got my first Omni Grip. Sometimes the right tool really does make all the difference.
10. Seam Ripper
If you’re just starting to sew, you’re going to become very familiar with your seam ripper. And that’s completely normal! Every sewist, no matter how experienced, has a seam ripper within arm’s reach because we all make mistakes.
Think of it as your sewing safety net. Wrong seam? Seam ripper. Buttonhole went sideways? Seam ripper. Accidentally sewed your sleeve inside out? Boom! Seam ripper to the rescue again. I got a pack of six and thought this was way more than I needed at the time. I don’t even know what I was thinking. They use a blade. Of course they would get dull. Don’t feel bad about using yours frequently.

11. Iron
If you want your sewing projects to look polished and professional, pressing your seams is non-negotiable. I know it feels like a pain to stop mid-project and drag out the iron all the time, but once you see how crisp, flat seams transform your finished piece, you’ll never skip this step again.
Also make sure that you are paying attention to your temperature settings. Different fabrics need different heat levels, and burning your precious fabric because you were impatient or couldn’t be bothered to check ( I’m guilty of this) is a frustrating and avoidable setback. Cotton can handle higher heat, while synthetics and delicates need a gentler touch. When in doubt, test on a piece of scrap fabric first.
Nice to Have
Rotary Cutter
I almost put this in my essentials list until I remembered I didn’t even buy mine until months into my sewing journey. So if you’re just starting out and already have good fabric scissors, don’t stress about getting a rotary cutter right away.
That said, once you do decide to buy one, there are a few things you’ll need to know. You’ll absolutely need a cutting mat to protect your surfaces (and keep that blade sharp), plus quilting rulers specifically designed for rotary cutting. I love my Omni Grid rulers for this. They’re much thicker than regular rulers and which usually get damaged when using your rotary cutter.
Why people love them:
- Clean, straight cuts through multiple fabric layers
- Great for cutting long strips or squares
- Less hand fatigue than scissors for big projects
If you’re happy with your scissors and not doing a ton of quilting or cutting large pieces, you can absolutely wait on this purchase. Your scissors will serve you just fine while you’re learning the basics.
Other Nice-to-Have Items
Pin Cushions: If you’re using pins, you’ll need something to stick them in. While I use clips too, I still prefer pins and I’ve somehow ended up with a ton of pin cushions. Mostly because I just like making them.
Thread Snippers These little scissors are perfect for quick thread cuts right at your machine. They’re smaller and more precise than regular scissors, so you can snip threads without accidentally cutting your fabric. Handy, but your regular scissors work fine too.
Pattern Weights If you’re tired of wrestling with pins while cutting out patterns, these are a game-changer. They hold your pattern pieces flat against the fabric without the hassle of pinning everything down. Some people swear by them, others stick with pins—it’s really about what feels right for you.
Tailor’s Ham This oddly-shaped pressing tool is amazing for garments with curved seams. Think bust darts, hip curves, or sleeve caps. It gives you a rounded surface to press against, so your curves actually look like curves instead of flat, awkward lines.
Thimble Great for protecting your fingers and helping push needles through thick layers. If you find yourself hand-sewing often or working with heavy fabrics, this little shield can save your fingertips.
Seam Gauge I’ll be honest, I decided against using one, and I was told it doesn’t help much with curves anyway. It’s designed for keeping straight seam allowances consistent, but if you’re comfortable eyeballing it or using your presser foot as a guide, you might not need it either.
Final Thoughts
There are plenty of other sewing tools that would be nice to add to your collection, but I’ll leave it here. I don’t want to overwhelm you with a massive shopping list as you’ll naturally figure it out along the way.
The most important thing? Just start. Your toolkit will grow as your skills and interests do. Every sewist’s collection looks different because we all have our own preferences, project types, and quirks.
Good luck on your sewing journey. I’m rooting for you!